


🧽💧 Mini Makeup Sponge Washer — Give Sponge Cleaning a Place in Your Beauty Routine 💄✨
🧽💧 Mini Makeup Sponge Washer — Give Sponge Cleaning a Place in Your Beauty Routine 💄✨
BUNDLE & SAVE
Couldn't load pickup availability
-
Ordered
- - -
Order Ready
- - -
Delivered

🧽💧 Mini Makeup Sponge Washer — Give Sponge Cleaning a Place in Your Beauty Routine 💄✨
🧽 Mini makeup sponge washer
Your sponge.
Its own little wash day.
Bring a little structure to sponge care. A front-opening door, top-fill inlet and clear window keep loading, washing and draining in one washer-style routine.

01 / Give the routine a starting point
Open the door.
Bring the sponge inside.
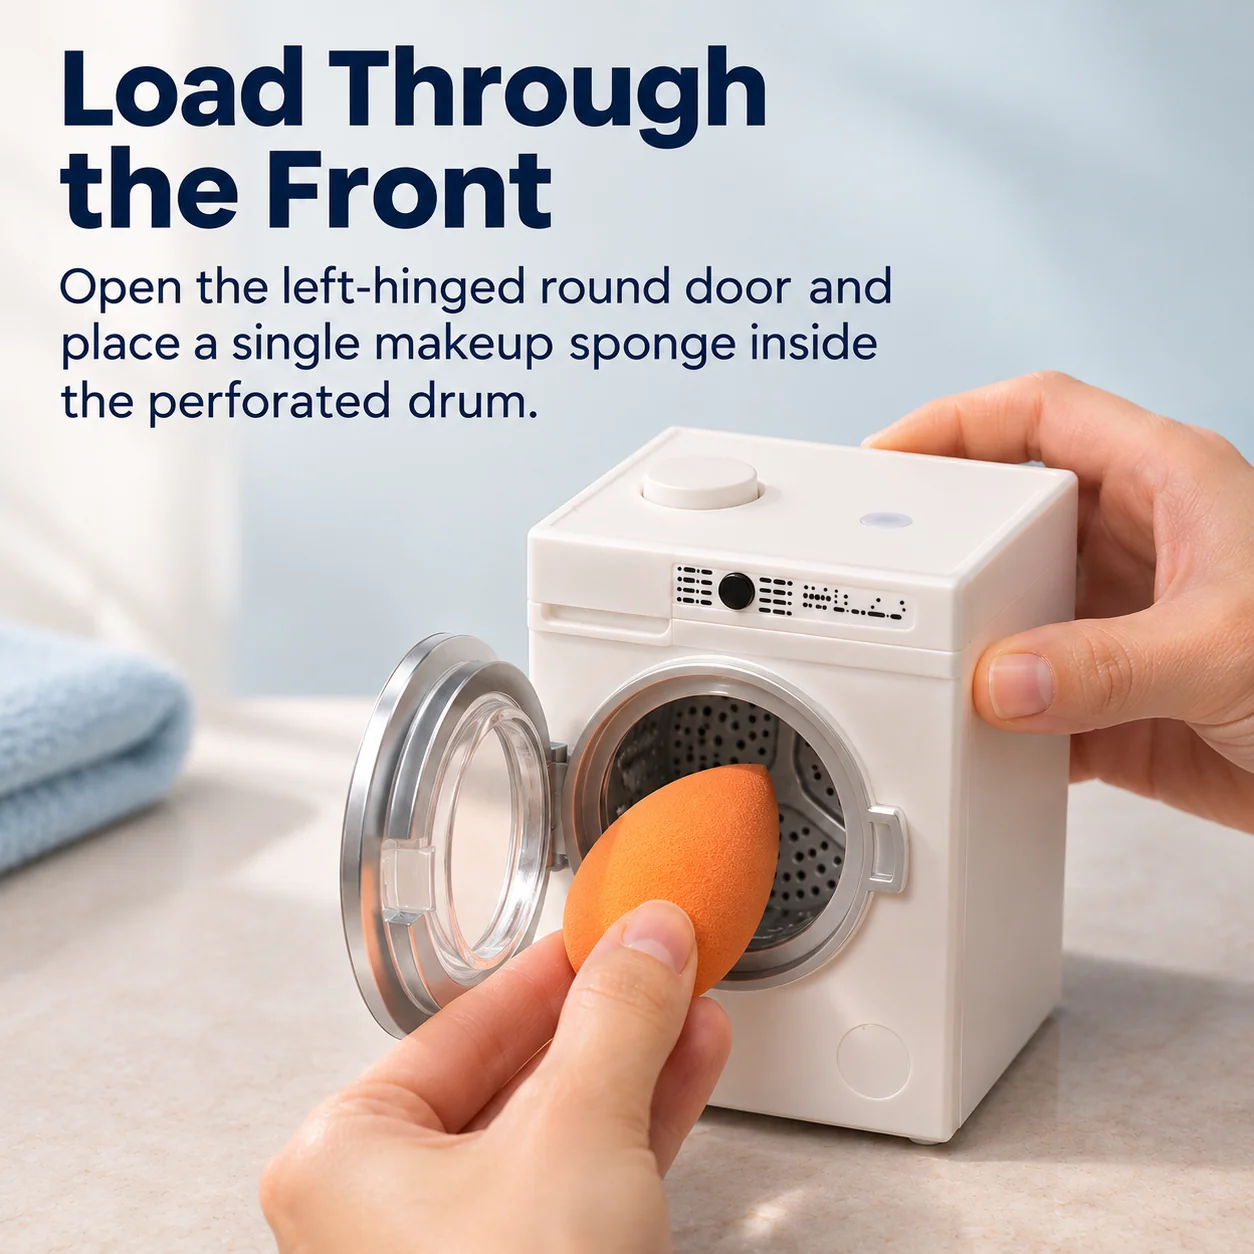
The round front door opens to the left. Place a single sponge in the perforated inner drum, then close the door before filling and starting.
The sponge-care step has yet to begin.
Move the sponge into its own little drum to start the routine.
02 / Add water from above
Keep the front closed.
Fill from the top.
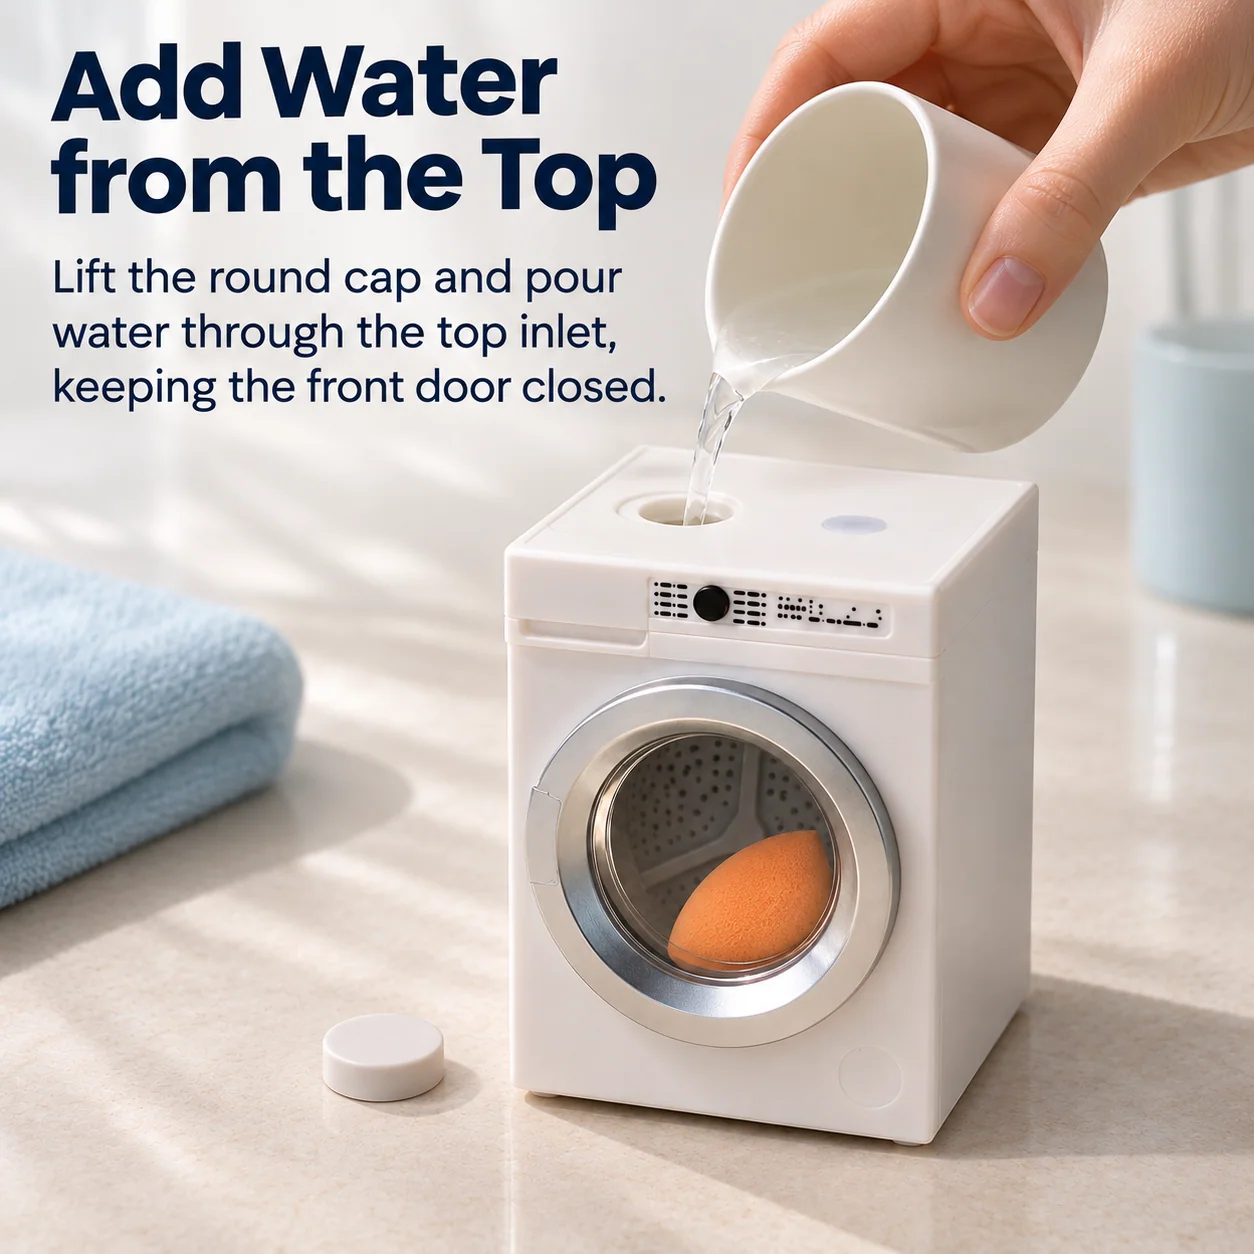
Lift the round cap and add water through the top-fill inlet, keeping the front door closed. Replace the cap before starting.
The front-loading step is complete.
Use the top opening to prepare the chamber for the wash.
03 / Press to begin
A top control.
A blue light when it is on.
With the front door closed, press the top control. The blue indicator lights up when the machine is on.

The sponge and water are inside, ready for the next step.
The blue indicator provides a clear visual sign that the machine is on.
04 / Watch through the window
The little wash day
stays in view.
See the sponge and water through the transparent front door while the drum is moving.

05 / Open to the details
A round door.
A perforated drum behind it.
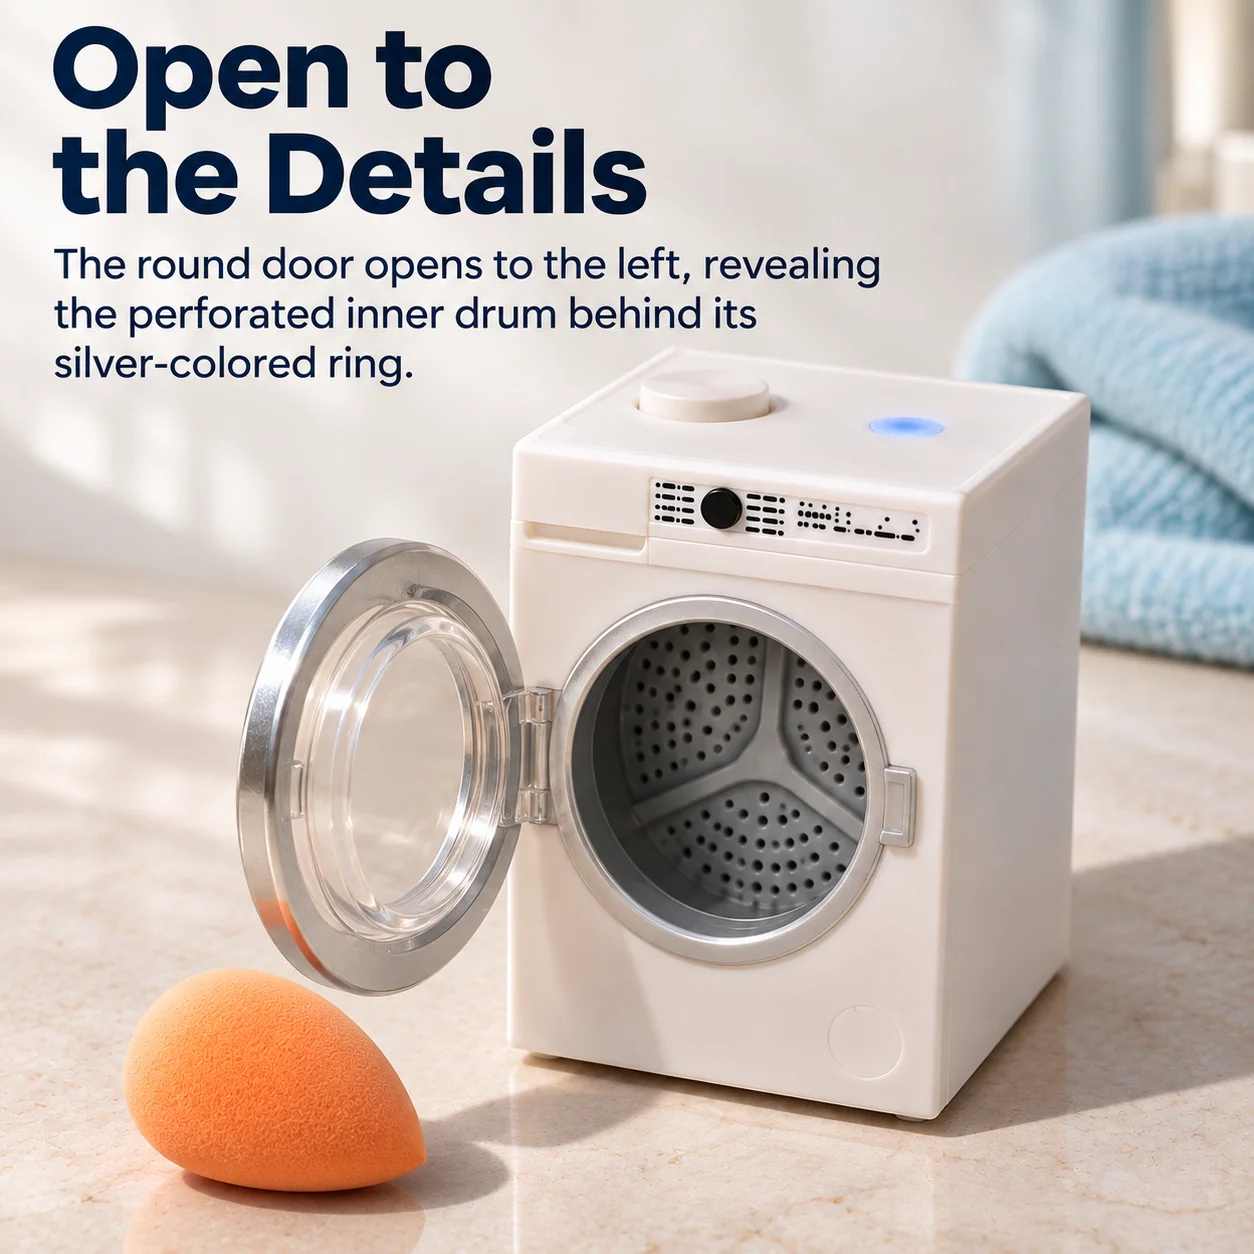
The left-hinged door reveals the perforated inner drum behind its silver-colored ring.
🧽 Front access
A clear route into the drum.
Open the round door to place the sponge inside.
🤍 White washer-style body
A familiar shape for the vanity.
The silver-colored door ring frames the transparent window.
06 / Finish with the drain step
After the wash,
give the water a way out.
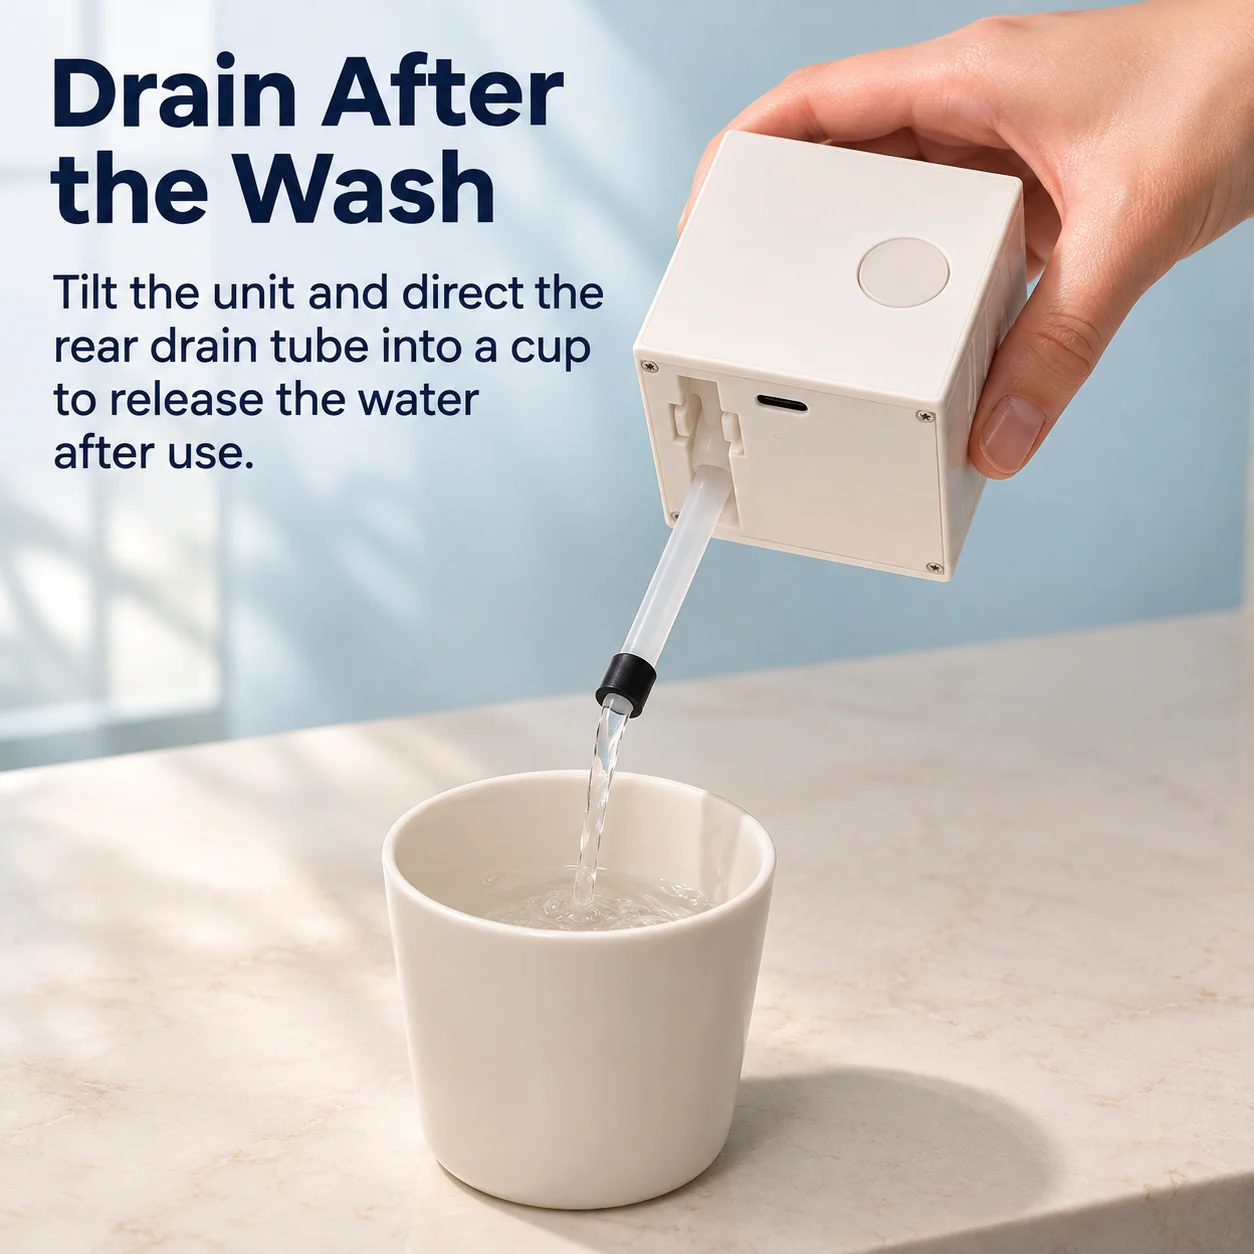
Once operation has stopped, direct the rear drain tube into a cup and tilt the unit to release the water.
The routine still has an emptying step to complete.
Guide the tube into a suitable vessel for a directed way to release the water.
07 / Your vanity. Your sponge routine.
Give sponge care
a place in the routine.
Bring the washer-style setup into your makeup space and make the sponge-cleaning step more deliberate.

The cleaning step gets left until some other moment.
Give the task a clear beginning, wash stage and drain step.
1
Load through the front.
Place a single sponge inside and close the door.
2
Add water and press to begin.
Fill from the top, then use the top control.
3
Drain after use.
Direct the rear tube into a suitable vessel.
The details, simply
A little washer.
A clearly arranged process.
🧽 Loading
Left-hinged front door
Access the perforated inner drum through the round opening.
💧 Filling
Top inlet with a round cap
Add water from above while keeping the front door closed.
✨ Starting
Top control & blue indicator
A visible on-state beside the water inlet.
🚿 Emptying
Rear drain tube
Direct the water into a suitable vessel after use.
Before your sponge's next wash day
A few helpful answers.
Open the front door and place a single makeup sponge inside the drum. Close the door, add water through the inlet on top and replace the cap before starting.
How do I start the machine?
With the door closed, press the top control. The indicator lights blue when the machine is on, and the transparent window keeps the sponge and water in view.
How do I empty the water afterward?
Once operation has stopped, direct the rear drain tube into a cup or suitable vessel and tilt the unit to release the water.
🧽 A little washer for your sponge
Make room for
a little sponge wash day.
Load from the front. Add water from above. Keep the process in view.


